Install Flutter on Arch Linux
flutter gutter

Getting Flutter and Android working together is no small feat.
Linux may be a first-class citizen when it comes to developing with Flutter, but setting up Java, Android and the Android tool-chain can be a real hassle.
This blog post shows how get Flutter working with Android SDK without installing Android Studio.
Android Studio is a fully-fledged IDE. If you want to use a different development editor (like Vim or VS Code), Android Studio is only good for eating space on your hard drive.
Arch Linux comes with the fabulous Arch package manager and the AUR, the Arch User Repository. The AUR offers dozens of useful packages which we can use to set up Android SDK.
7 GB of free disk space for Flutter and Android SDK.Install Flutter
Use the AUR for installing Flutter:
|
|
(yay enables you to install AUR packages.)
Choose Openjdk 8 or 10. Otherwise you’ll get an error with the Android tools: Failed to install android-sdk: java.lang.NoClassDefFoundError: javax/xml/bind/annotation/XmlSchema.
Fix Permissions
Create a new group flutterusers, add the default user to the group, then change permissions on the folder /opt/flutter.
The group may have been created beforehand so you may not need to do this. It’s no harm in doing it again anyway.
|
|
If you still get permission denied errors, you can also change the permissions of the /opt/flutter folder to your $USER:
|
|
Install Android SDK and Tools
While we can avoid installing the heavy Android Studio program, we still need the SDK Manager.
You can install the SDK Manager command line tool as a standalone package. We also need the platform tools for the Android emulator and an SDK platform.
|
|
Fix User Permissions
The AUR installs the Android tools into /opt/android-sdk. The directory has root permissions, so we’ll need to fix that:
|
|
You’ll probably also have to set up environment variables for ANDROID_SDK_ROOT and JAVA_HOME.
The Java version is under /usr/lib/jvm, in the case of version 8, it’s this:
|
|
If you have other version of openjdk installed, you may have to change the default Java environments.
First, try checking your default environment by using:
|
|
The output will look like this:
|
|
If it’s not the case, then changing the environment:
|
|
Android Emulator
First, you’ll need to install the required Android image with sdkmanager:
|
|
Then install a system image, for example:
|
|
Now you can create an emulator:
|
|
(Replace <name> with the name you want to give the emulator.)
Put these lines in your .bashrc/.zshrc:
|
|
If you encounter the error: “PANIC: Missing emulator engine program for ‘x86’ CPUS.”. It indicates that the emulator program is not in your path. Adding this line in .bashrc/.zshrc works for me:
|
|
Run Android Emulator
|
|
## Verifying Flutter
Check if you have accepted all licenses:
flutter doctor --android-licenses.
Then run flutter doctor.
The output will look like this:
|
|
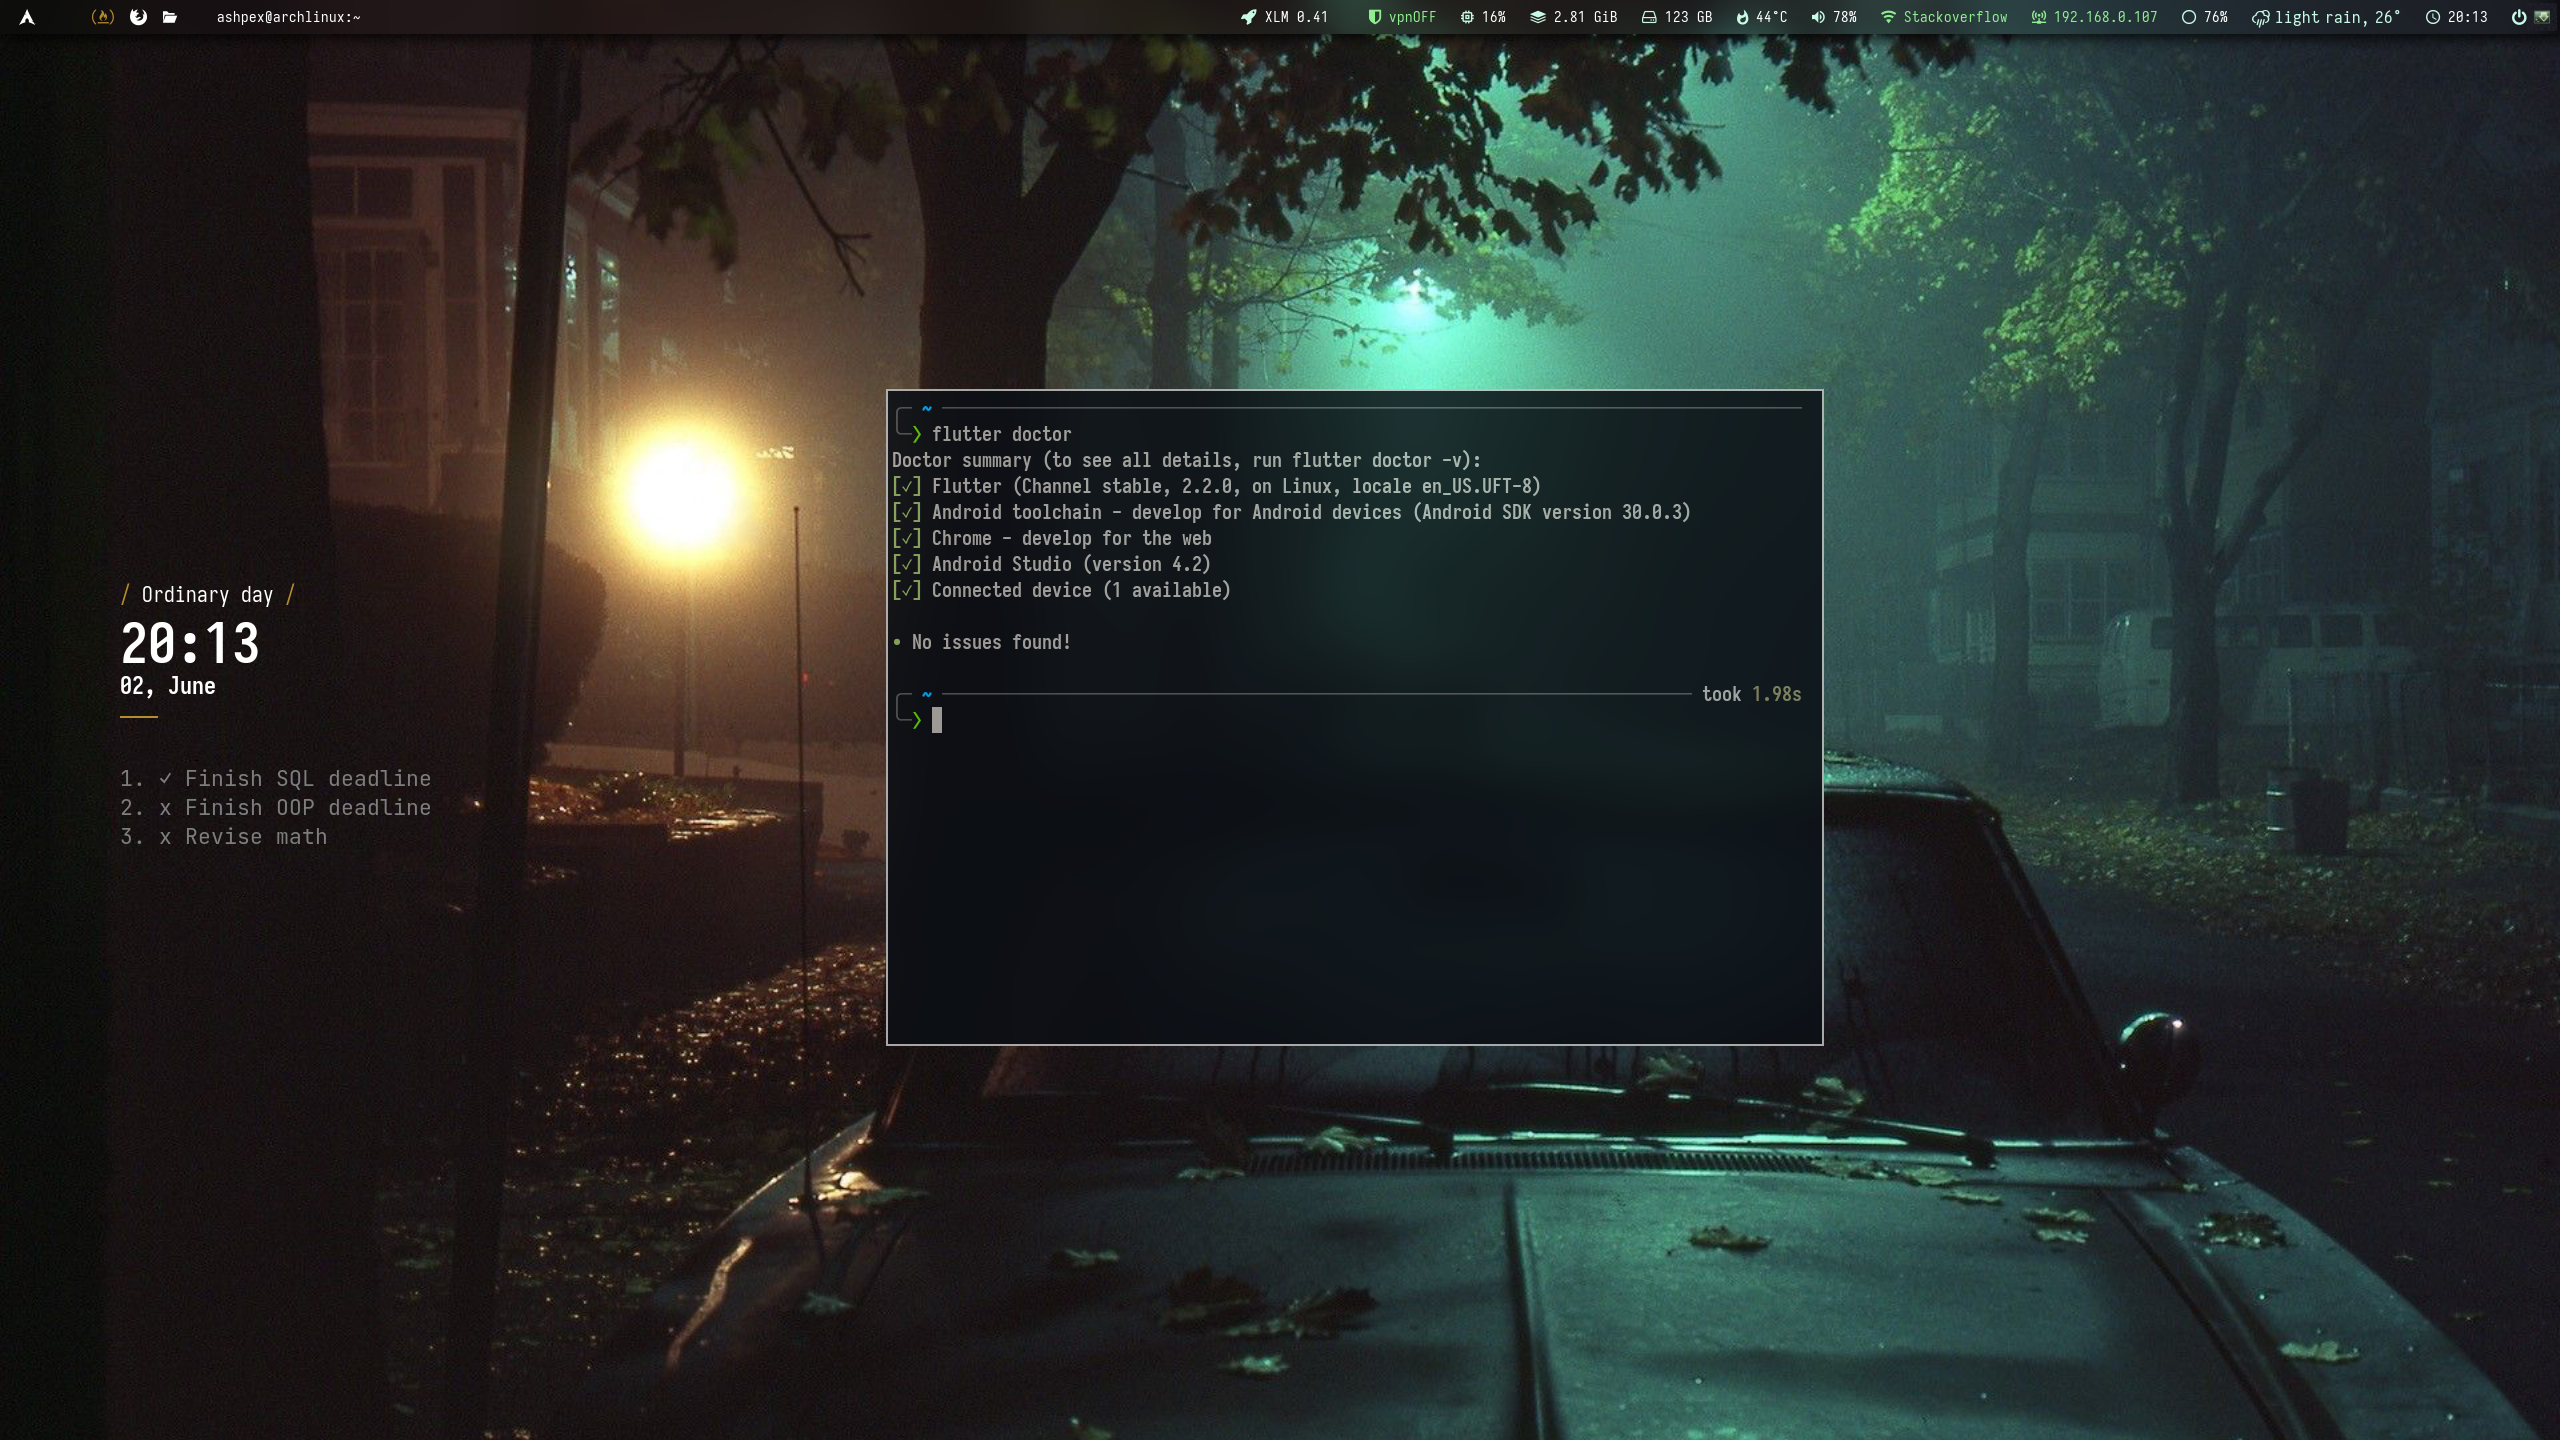
Everything should work now except for Android Studio (unless you installed one).
Conclusion
Installing the Android toolchain without Android Studio can be very tricky if you don’t add the correct paths to your shell environment.
It’s also not easy to find out what you have to install and how to do it.
The above worked for me after spending a few hours. Time I’ll never get back.
Hopefully, this guide will help someone else (and if it’s only my future self).